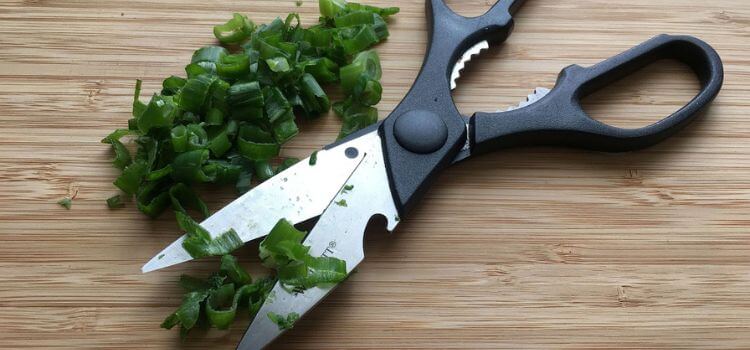
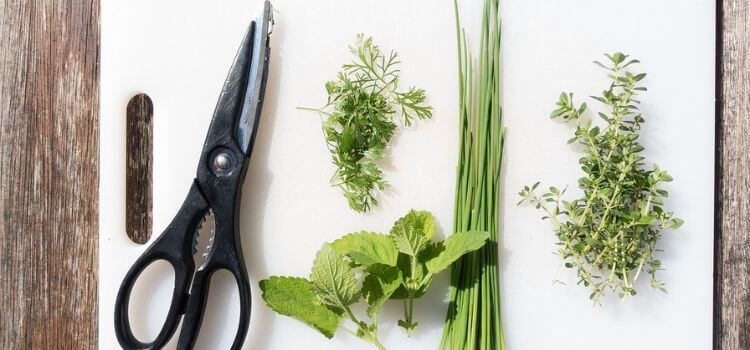
Kitchen shears are an indispensable tool in any culinary arsenal, often used for tasks ranging from cutting poultry to snipping herbs. However, like any kitchen utensil, it requires regular maintenance to ensure optimal performance and hygiene. This guide will explore the importance of cleaning kitchen shears and provide a step-by-step approach to keeping them in top condition.
Importance of Cleaning Kitchen Shears
Ensuring kitchen shears are thoroughly cleaned is essential for multiple reasons. Primarily, it aids in preventing the accumulation of harmful bacteria, which can contaminate food and lead to foodborne illnesses. Second, regular cleaning ensures the blades remain sharp and free from leftover food particles, maintaining their cutting efficiency and prolonging their lifespan.
Preparing to Clean Kitchen Shears
Before initiating the cleaning process, it’s crucial to assemble all required materials and implement safety measures. Gather a clean cloth, mild dish soap, a small brush or toothbrush, and a drying towel. Additionally, ensure that the shears are cool to the touch and that you’re working in a well-lit and spacious area to prevent accidents.
Step-by-Step Guide to Cleaning Kitchen Shears
Disassembling the Shears (if applicable)
If your kitchen shears are designed to be disassembled, carefully separate the blades by loosening any screws or fasteners. That allows for easier access to all parts of the shears, ensuring a thorough cleaning.
Removing Debris and Residue
Using a brush or toothbrush, gently remove any food debris or residue stuck between the blades and around the pivot area. Pay close attention to crevices and serrated edges, where buildup is most likely.
Washing with Soap and Water
Fill a sink with warm water and delicately blend in a few drops of gentle dish soap to craft a cleansing mixture. Submerge the kitchen shears in soapy water and gently scrub them with a clean cloth or brush. Ensure that the blades and handles are thoroughly cleaned, paying extra attention to any stubborn stains or residue.
Drying Properly
After washing:
- Rinse the shears with clean water to remove any soap residue.
- Dry them thoroughly with a clean towel, removing moisture from the blades and handles.
- Should the shears be disassembled, meticulously reassemble them, making sure each component is securely affixed in its proper place.
Additional Tips for Maintaining Kitchen Shears
- Store Properly: After cleaning, kitchen shears should be stored in a dry and well-ventilated area to avoid rust and corrosion.
- Avoid Cutting Hard Objects: Refrain from using kitchen shears to cut hard objects like bones or metal, which can dull the blades and cause damage.
- Sharpen Regularly: Keep kitchen shears sharp by sharpening them periodically using a sharpening stone or a specialized knife sharpener.
Conclusion
Consistent cleaning and maintenance are paramount to ensuring kitchen shears remain in peak condition. Following the steps outlined in this guide and incorporating additional maintenance tips, you can ensure that your kitchen shears remain sharp, hygienic, and ready for any culinary task.
Frequently Asked Questions
It’s recommended that kitchen shears be cleaned after each use to prevent bacteria and food residue buildup.
While some kitchen shears are dishwasher safe, it’s generally best to hand wash them to prolong their lifespan and prevent damage.
If you notice rust on your kitchen shears, gently scrub them with vinegar and baking soda to eliminate rust, followed by thoroughly drying.
Avoid harsh chemicals or abrasive cleaners on kitchen shears, as these can damage the blades and compromise their performance.
If your kitchen shears struggle to cut through food or tear rather than slice cleanly, Consider using a sharpening stone or tool to refine their edge.
Leave a Reply